
Category Archives: home renovation
Chalkboard Wall
Home Renovation: The Third Bedroom
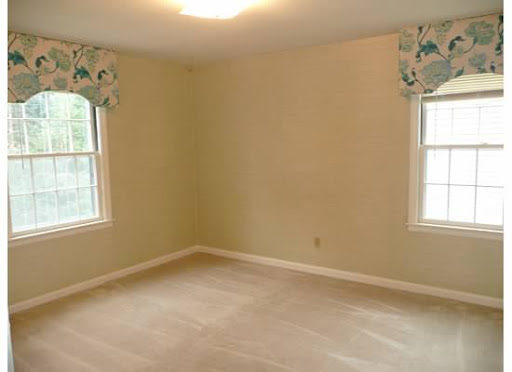
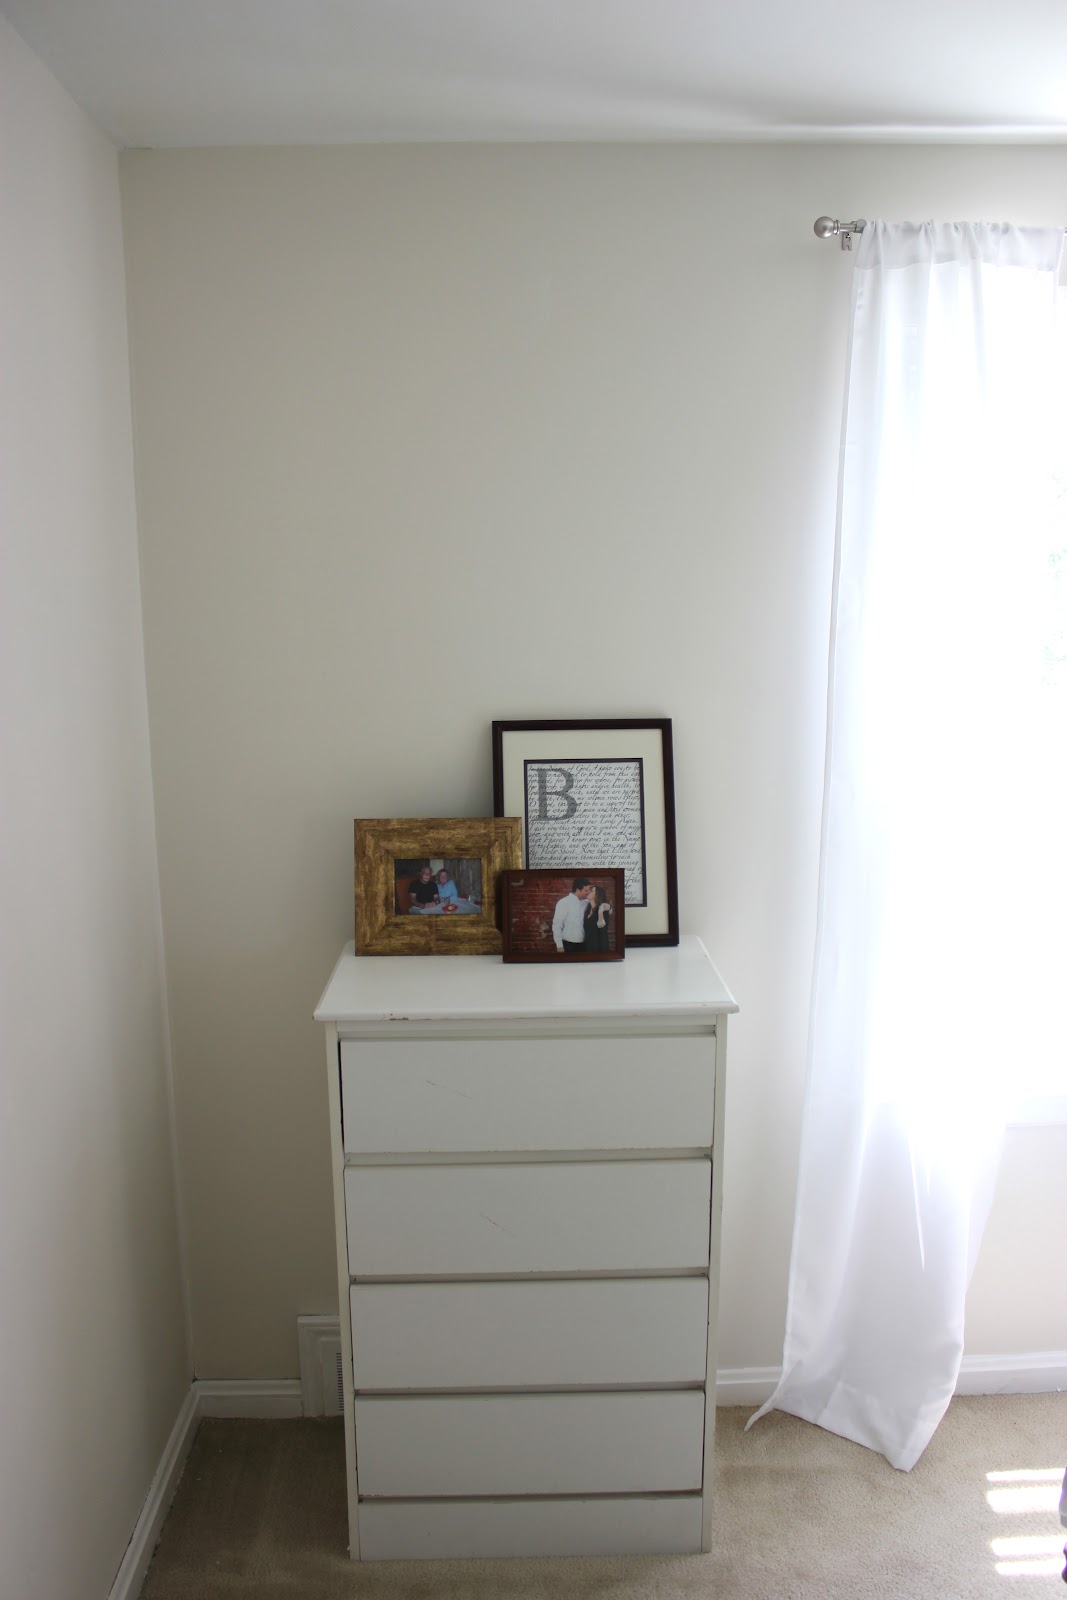
My husband and I purchased a 50+ year old house as our first home three years ago. While the house only had one previous owner (they built it and lived in it their entire lives), we had a lot of updates to do as every room has three layers of wallpaper. You may remember my previous posts about our hall bathroom makeover, the master bathroom makeover, the master bedroom makeover and the second bedroom makeover. And, now, we are to the final room with remaining wallpaper – the third bedroom which will become our little boy’s nursery. Here’s what it currently looks like:

After much discussion (with myself as my husband is the manual labor and refuses to make any decor decisions), we are going with “The Mister Prepster” as our theme. Lot’s of navy, gold and white with accents colors of light blue, red and green. Crossing our fingers, we will be painting navy stripes on the crib wall and the rest of the walls will be white so we can hang lots of great artwork and prints.
Here is my official inspiration board which I will be carrying with me over the next four months.


What do you think?
Where to find us:
Facebook. Twitter. Pinterest.
Enjoy,
Ellen
Home Renovation: The Front of Our Home
When we purchased our home, I didn’t like white houses. But, I dealt with the siding and the black accents for a few years. One day, I finally said we had to stop working on the inside of the house and needed to refresh the exterior.
I only wanted to do simple updates but definitely get rid of the iron work (columns, numbers above the garage doors, screen door and awning).
Here’s what we started with:


Here’s what we did:
- Removed the screen door and painted that trim
- Painted the front door bright red
- Removed the number and awning iron work at the garage
- Removed one of the iron work columns
- Painted the other iron work column (that one is used to support the porch cover)
- Added the red bench which was a gift from my previous boss
- Added the pillow


It’s funny how those simple updates have made me love white houses now. They are the only ones I look at and dream about moving into for our next home.
Next up, a new roof that will be coming at the end of the summer and ripping out some of the landscaping to replace with evergreens. Plus, I hate that they painted the chimney white so I am letting the paint fall off to see if I can have a mix of painted and non-painted. We will see how it goes!
And, yes, Stanley poses every time I get the camera out. He likes to hang out on the front porch while we do yard work so it’s really “his” porch.
What have you done to the front of your home?
Enjoy,
Ellen
DIY Wallpaper Removal
As I have mentioned before, my husband and I purchased a home that had wallpaper in every room. And, I literally mean every room except the kitchen and the back den. We had grasscloth to three layers to wallpaper ceilings. Oh my!
In the three years of living here, we have now completely removed all of the wallpaper! Yes! We have tried every method (DIF, scraping to steaming) and have the best way – it’s steaming and we are thankful that we purchased the Wagner steamer – 915 On Demand. The neat part about this steamer is that it can be used to remove wallpaper, clean stove tops, grills and blinds and floors.
Everyone always asks how we did it. So, my husband has offered to share with us his step-by-step process:
For our particular wallpaper, I learned that it was easiest to take off the first layer without the steamer and simply use a putty knife. Our first layer was basically waterproof, and even scoring heavily made no difference.
Fill up the steamer with the max amount of water. Our steamer’s max is around 45 minutes, and it goes fast. Give the steamer about 10 minutes to heat the water till steaming.
Once the water is heated, find a seam in the wallpaper. I typically start at the top of the wall. I prefer to hold the steamer with my right hand and the putty knife in my left, but go with what feels right.

Hold the steamer on a wallpaper seam for around 25 seconds. If you’re worried about water drips (possibly a wooden floor) place a towel along the base board below the area you are steaming. Beware of the dripping water, it’s hot (you think this is common sense till the first 10 times you burn yourself).

After 25 seconds, move the steamer one space over.

While steaming the next space, use the putty knife to remove the just steamed wallpaper section. It will take a few tries to perfect this technique, and it may take an extra hit of steam to get all layers to smoothly release from the wall.

Next, tear off the steamed wallpaper section. It typically comes off in a square (the same size as the steamer) and I just neatly place them all in a pile to throw away.


And, enjoy the next four hours of your life steaming!
My one rule of caution is that this is what has worked for us best based on the type of wallpaper we had in our bedrooms, bathroom and hallway. This might not work for you; however, it would be worth a try!
Have you had to remove wallpaper and if so, how did you do it?
Where to find us:
Facebook. Twitter. Pinterest.
Enjoy,
Ellen
Home Renovation: My Second Bedroom – Finished!
My husband and I purchased a 50+ year old house as our first home a few years ago. While the house only had one previous owner (they built it and lived in it their entire lives), we had a lot of updates to do as every room has three layers of wallpaper. You may remember my previous posts about our hall bathroom makeover, the master bathroom makeover and the master bedroom makeover.
We have officially finished our second bedroom! We use this room as our guest bedroom and wanted it to have a clean look so we could continually change out the accessories in the room.
Here’s what it looked like before:
And, here’s my inspiration for the bedroom (thanks to House Beautiful for the image):

And, here’s how it turned out:


The specifics of the room:
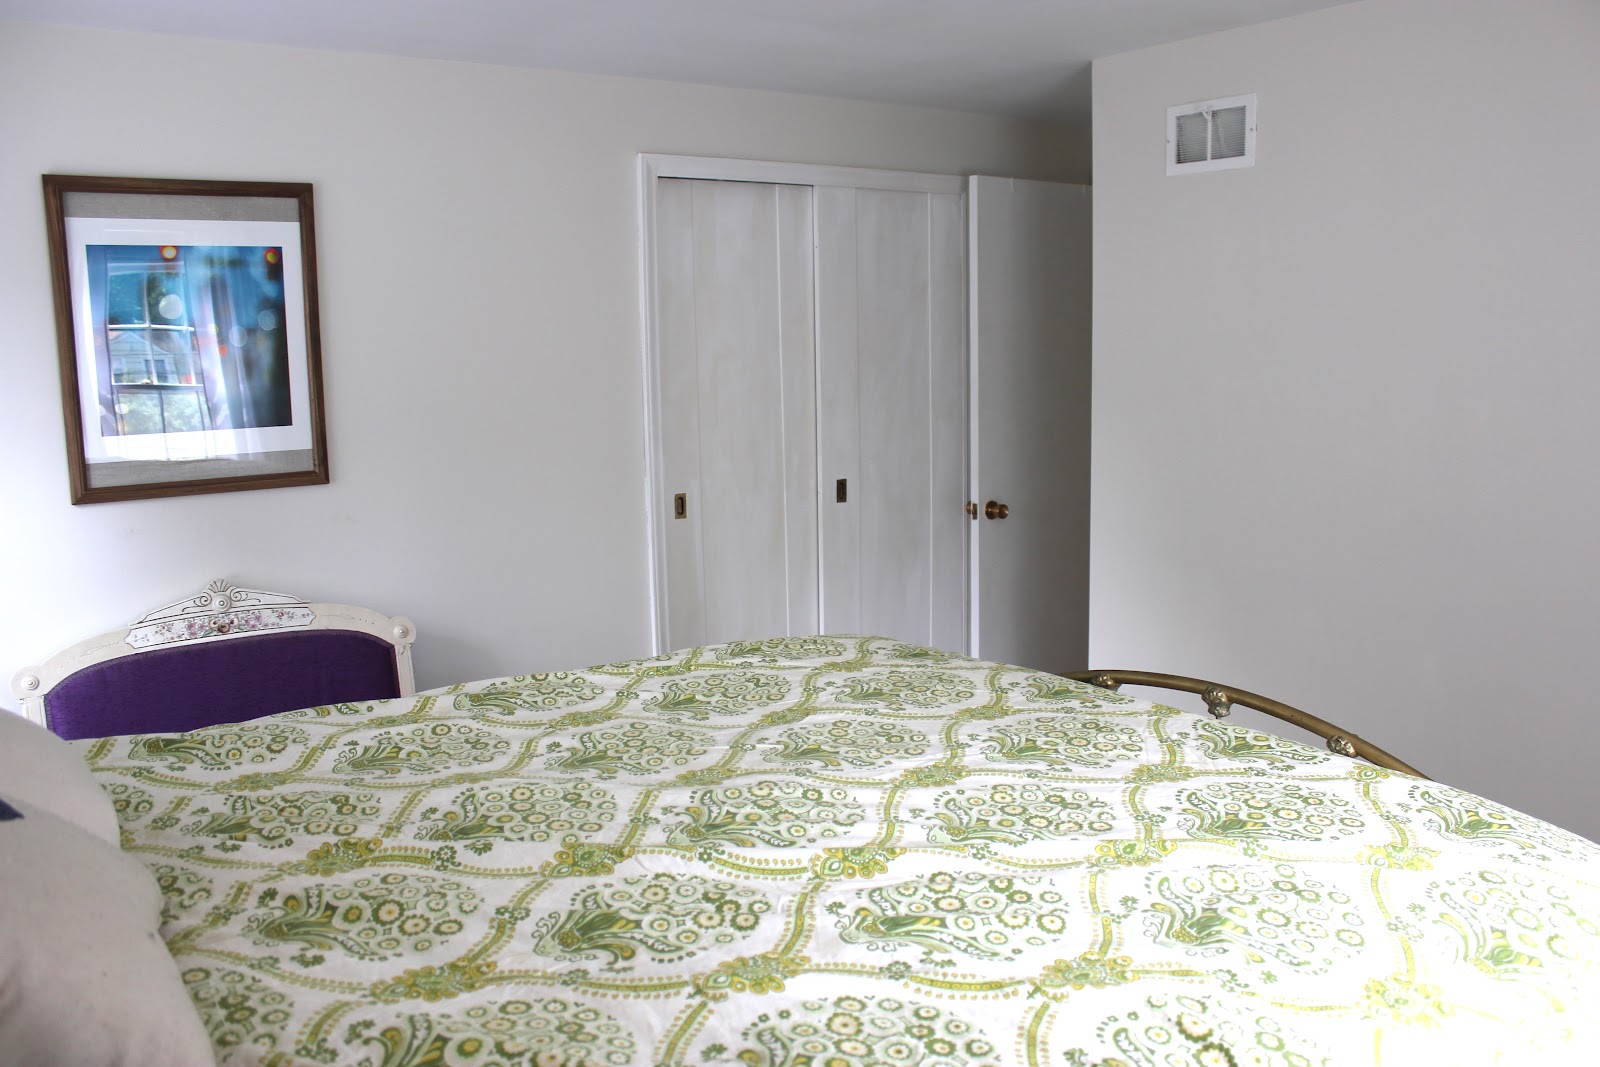
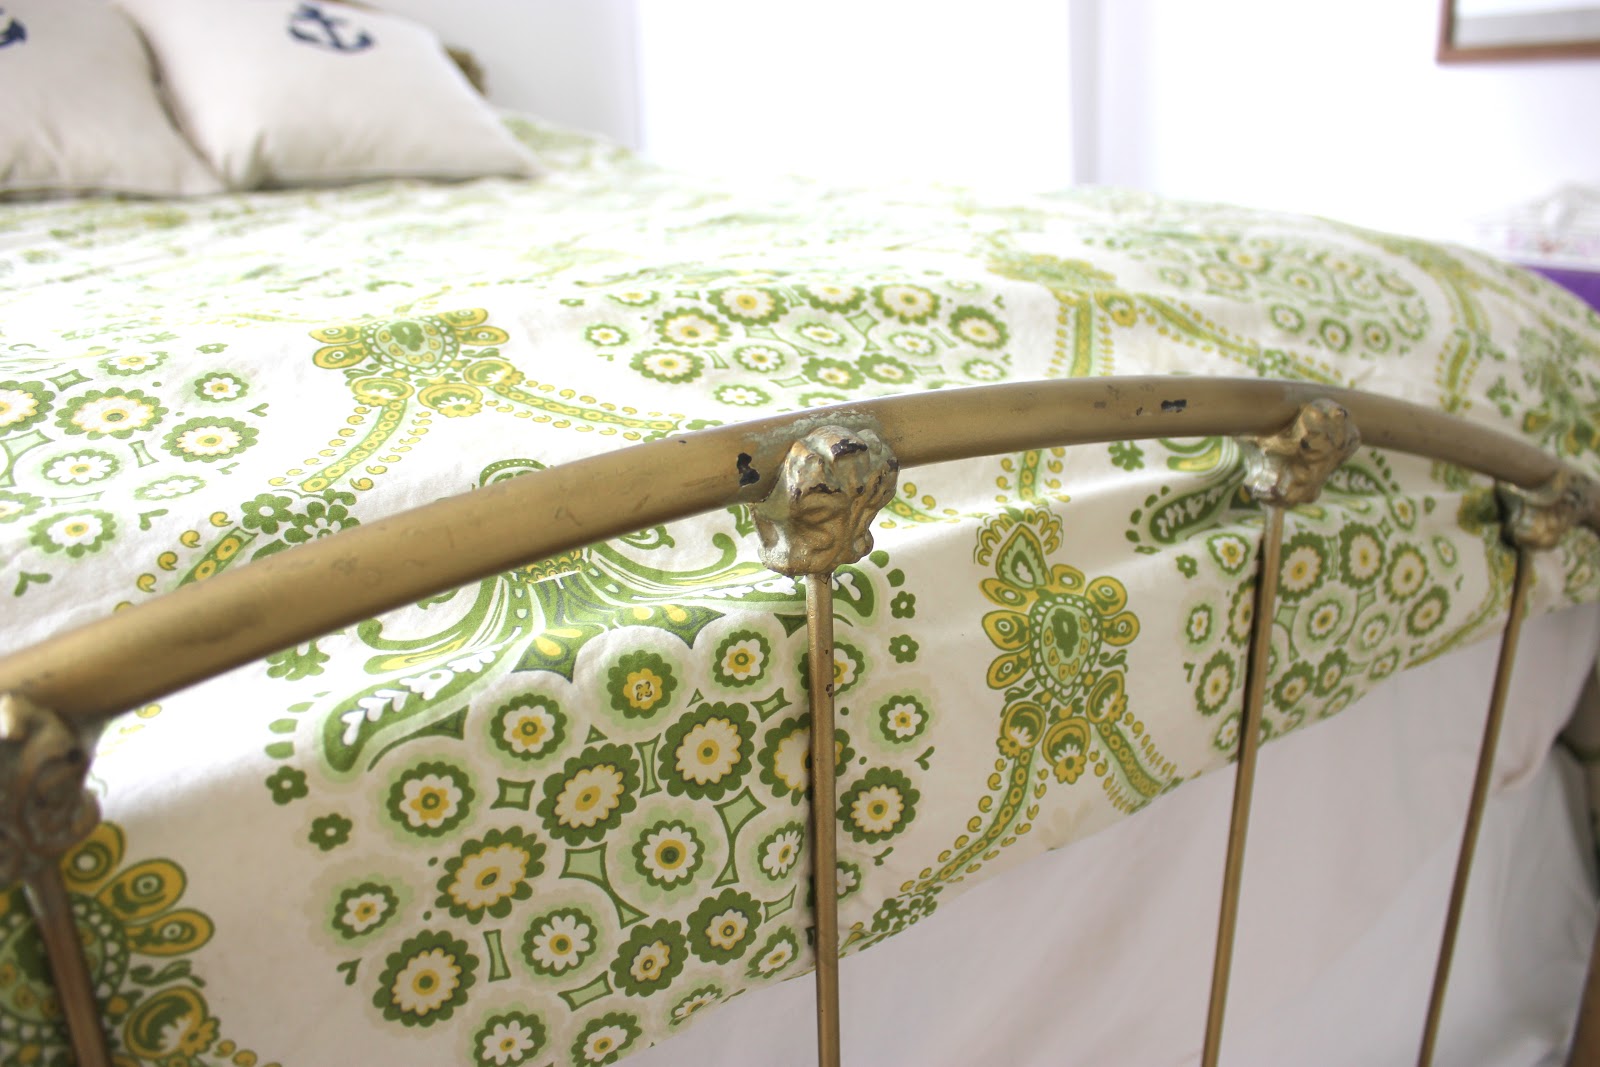
- The iron bed was my grandmother’s – similar to our master bedroom.
- The artwork is from a local photographer, Regnier Photography, and is of downtown Kansas City. I thought this would be perfect for guest room.
- Wall paint color is Oyster White from Sherwin Williams.
- Trim paint color is Bright White from Valspar.
- The curtains and rods are from Walmart.
- The new light is from Lowe’s.
- The dresser and night table are old pieces that were in the room.
- The comforter is from Anthropologie (three years ago).
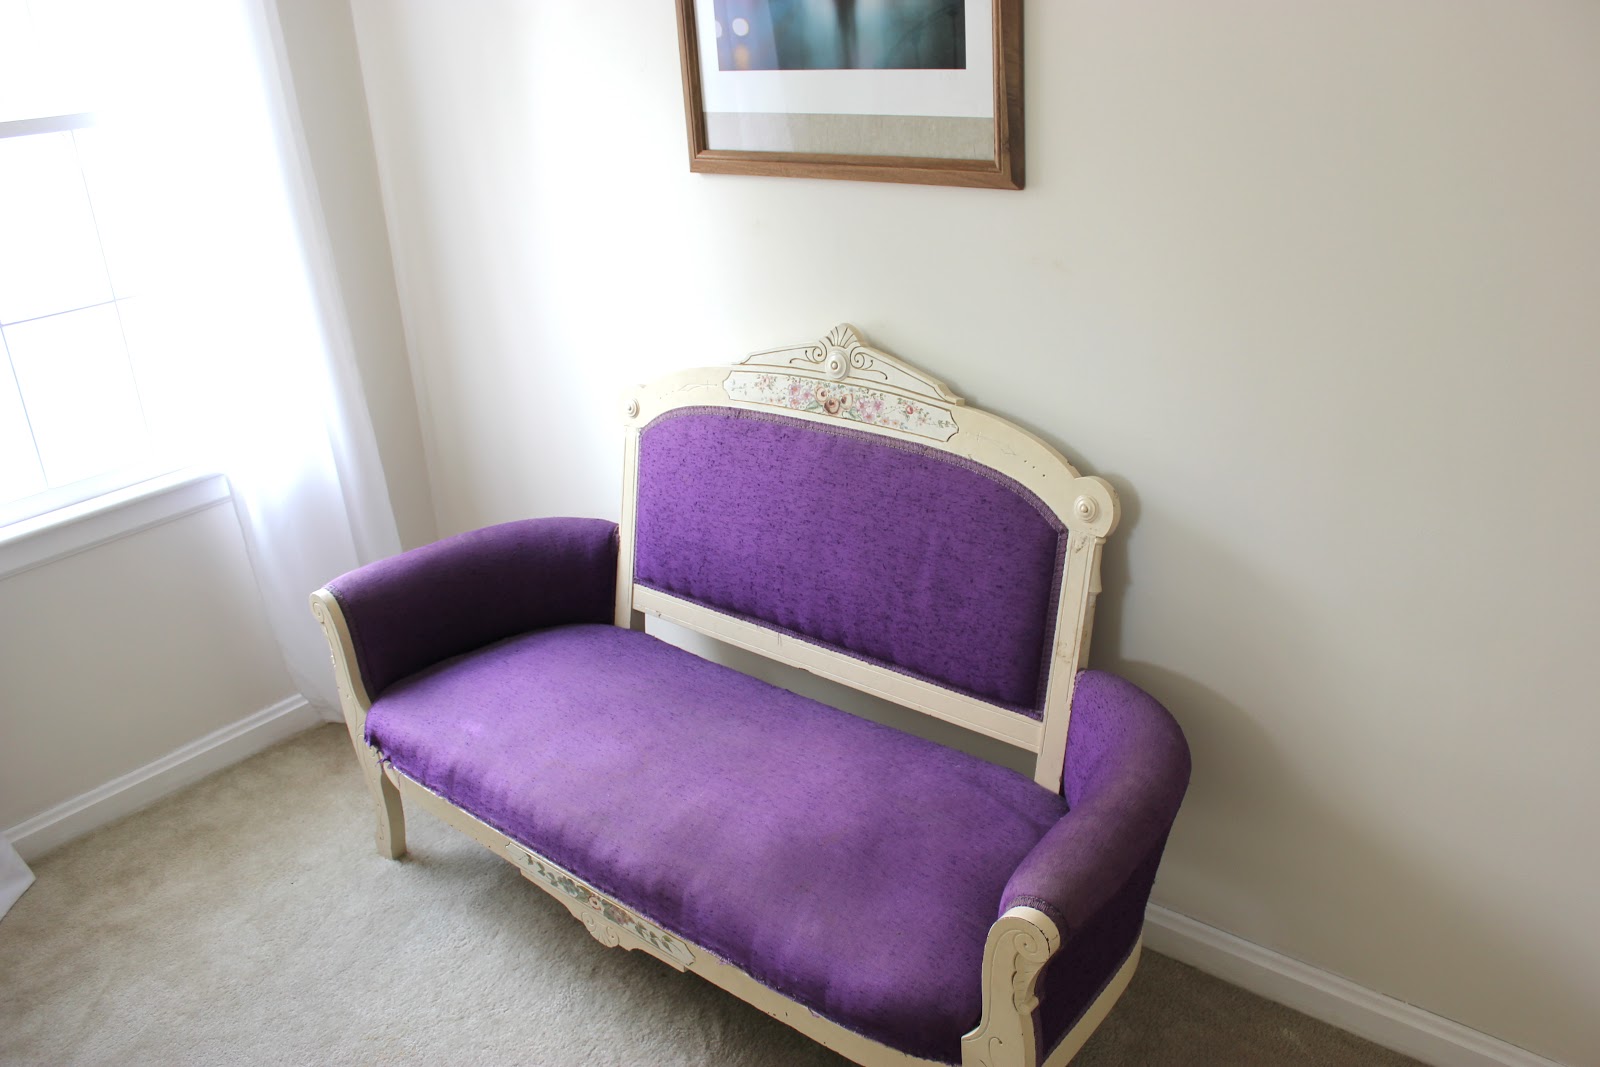
- My favorite piece is my grandmother’s wood couch. I will be attempting to re-cover it this summer.
Thanks again to House Beautiful for the inspiration.
What do you think? We still need to hang some more artwork (and we need to do that throughout the house).
Where to find us:
Facebook. Twitter. Pinterest.
Enjoy,
Ellen
Home Renovation: My Second Bedroom.
My husband and I purchased a 50+ year old house as our first home a few years ago. While the house only had one previous owner (they built it and lived in it their entire lives), we had a lot of updates to do as every room has three layers of wallpaper. You may remember my previous posts about our hall bathroom makeover, the master bathroom makeover and the master bedroom makeover.
Next up is finishing our second bedroom. Then, all we have left is the nursery (well, that has wallpaper). Our second bedroom is a nice size bedroom for being in a house that’s so old. It could even double as a master bedroom. We use it as our guest bedroom because we always seem to have someone staying the weekend.
Here’s what it looked like before:

And, here’s my inspiration for the bedroom (thanks to House Beautiful for the image):

What are your thoughts? I want light walls so we can change the bedding out for each season as well as keeping the accessories to a minimum.
See the finished room here.
Where to find us:
Facebook. Twitter. Pinterest.
Enjoy,
Ellen
Built-In Hutch Makeover.
As I mentioned before, I wanted to update the current shelf styling of our dining room hutch.
We have a built-in hutch at our house which is one of the reasons I loved our dining room when we were looking to purchase a home. I am always changing the hutch out to have either all pictures or showcase my collection of antique glass jars. But, I have decided I want to highlight some of our dishes and still incorporate my antique glass jars.
Here’s the before (pre-living room updates):

And, here’s what it looks like now:


I am happy with the result but I am sure I will want to change it in a few months. I am thinking about wallpapering the inside of the back of the hutch and then putting the shelves back in. Don’t tell my husband since as we are still tearing down all of the wallpaper in our house! But, with this current refresh, I didn’t want to spend any money to update the hutch.
Did my previous post inspire you at all to do a makeover? If so, let me know what you did!
Enjoy,
Ellen
Built-In Hutch Inspiration.
We have a built-in hutch at our house which is one of the reasons I loved our dining room when we were looking to purchase a home. I am always changing the hutch out to have either all pictures or showcase my collection of antique glass jars. But, I have decided I want to highlight some of our dishes and still incorporate my antique glass jars.
Here’s my inspiration:


Country Living.

And, here’s what I am working with (and pre-updates to our downstairs which I haven’t shared yet):

Do you have a built-in hutch? If so, what have you done with it? What do you recommend?
I’ll be updating mine in a few weeks with the best ideas (and inspiration from above) and post the results! Stay tuned.
Enjoy,
Ellen
Home Renovation: Master Bedroom.
My husband and I purchased a 50+ year old house as our first home a few years ago. While the house only had one previous owner (they built it and lived in it their entire lives), we had a lot of updates to do as every room has three layers of wallpaper. You may remember my previous posts about our hall bathroom makeover and the master bathroom makeover.
We started working on our master bedroom first when we moved in. There was three layers of wallpaper behind what you see below. The best part, the wall had never been painted! Here’s what we started with:


After the wallpaper was removed, we painted the ceilings and walls. This year, we finally got around to buying the rest of the needed furniture (i.e. night stands!) and I finished painting all of the trim bright white instead of a antique beige. Plus, I added curtains I made myself! We love the results and being completely done with a room. Here’s the first finished room in our home:

 |
| Our dresser is an entertainment stand from Nebraska Furniture Mart, the framed artwork is a heart that we got on our honeymoon and the series of drawings was my grandmother’s and are the phases of love – dating, engagement, marriage then a baby. |
 |
| The gold mirror was my grandmother’s, the jewelry box is from my sister-in-law, the dried flowers are from our wedding, the picture is my mother when she was pregnant with me, the dish is a vintage ice cream holder that contains my rings and the Mr. and Mrs. sign was from my husband. |
 |
| The ornate headboard was my grandmother’s and is my favorite item I have from my maternal grandmother. It’s actually for a queen-sized bed but we had it fitted for our king. |

What do you think? I am extremely proud of the curtains and how spacious the room feels.
Enjoy,
Ellen
